Control your lights with a Nintendo DS
Introduction
A few months ago, I stumbled upon the DS Linux project while browsing the internet. The project is not actively developed anymore (which was to expect as the DS is a pretty old device with the first model released in 2004). However, working builds are available on their website here and I wanted to play a bit with it.
Installation
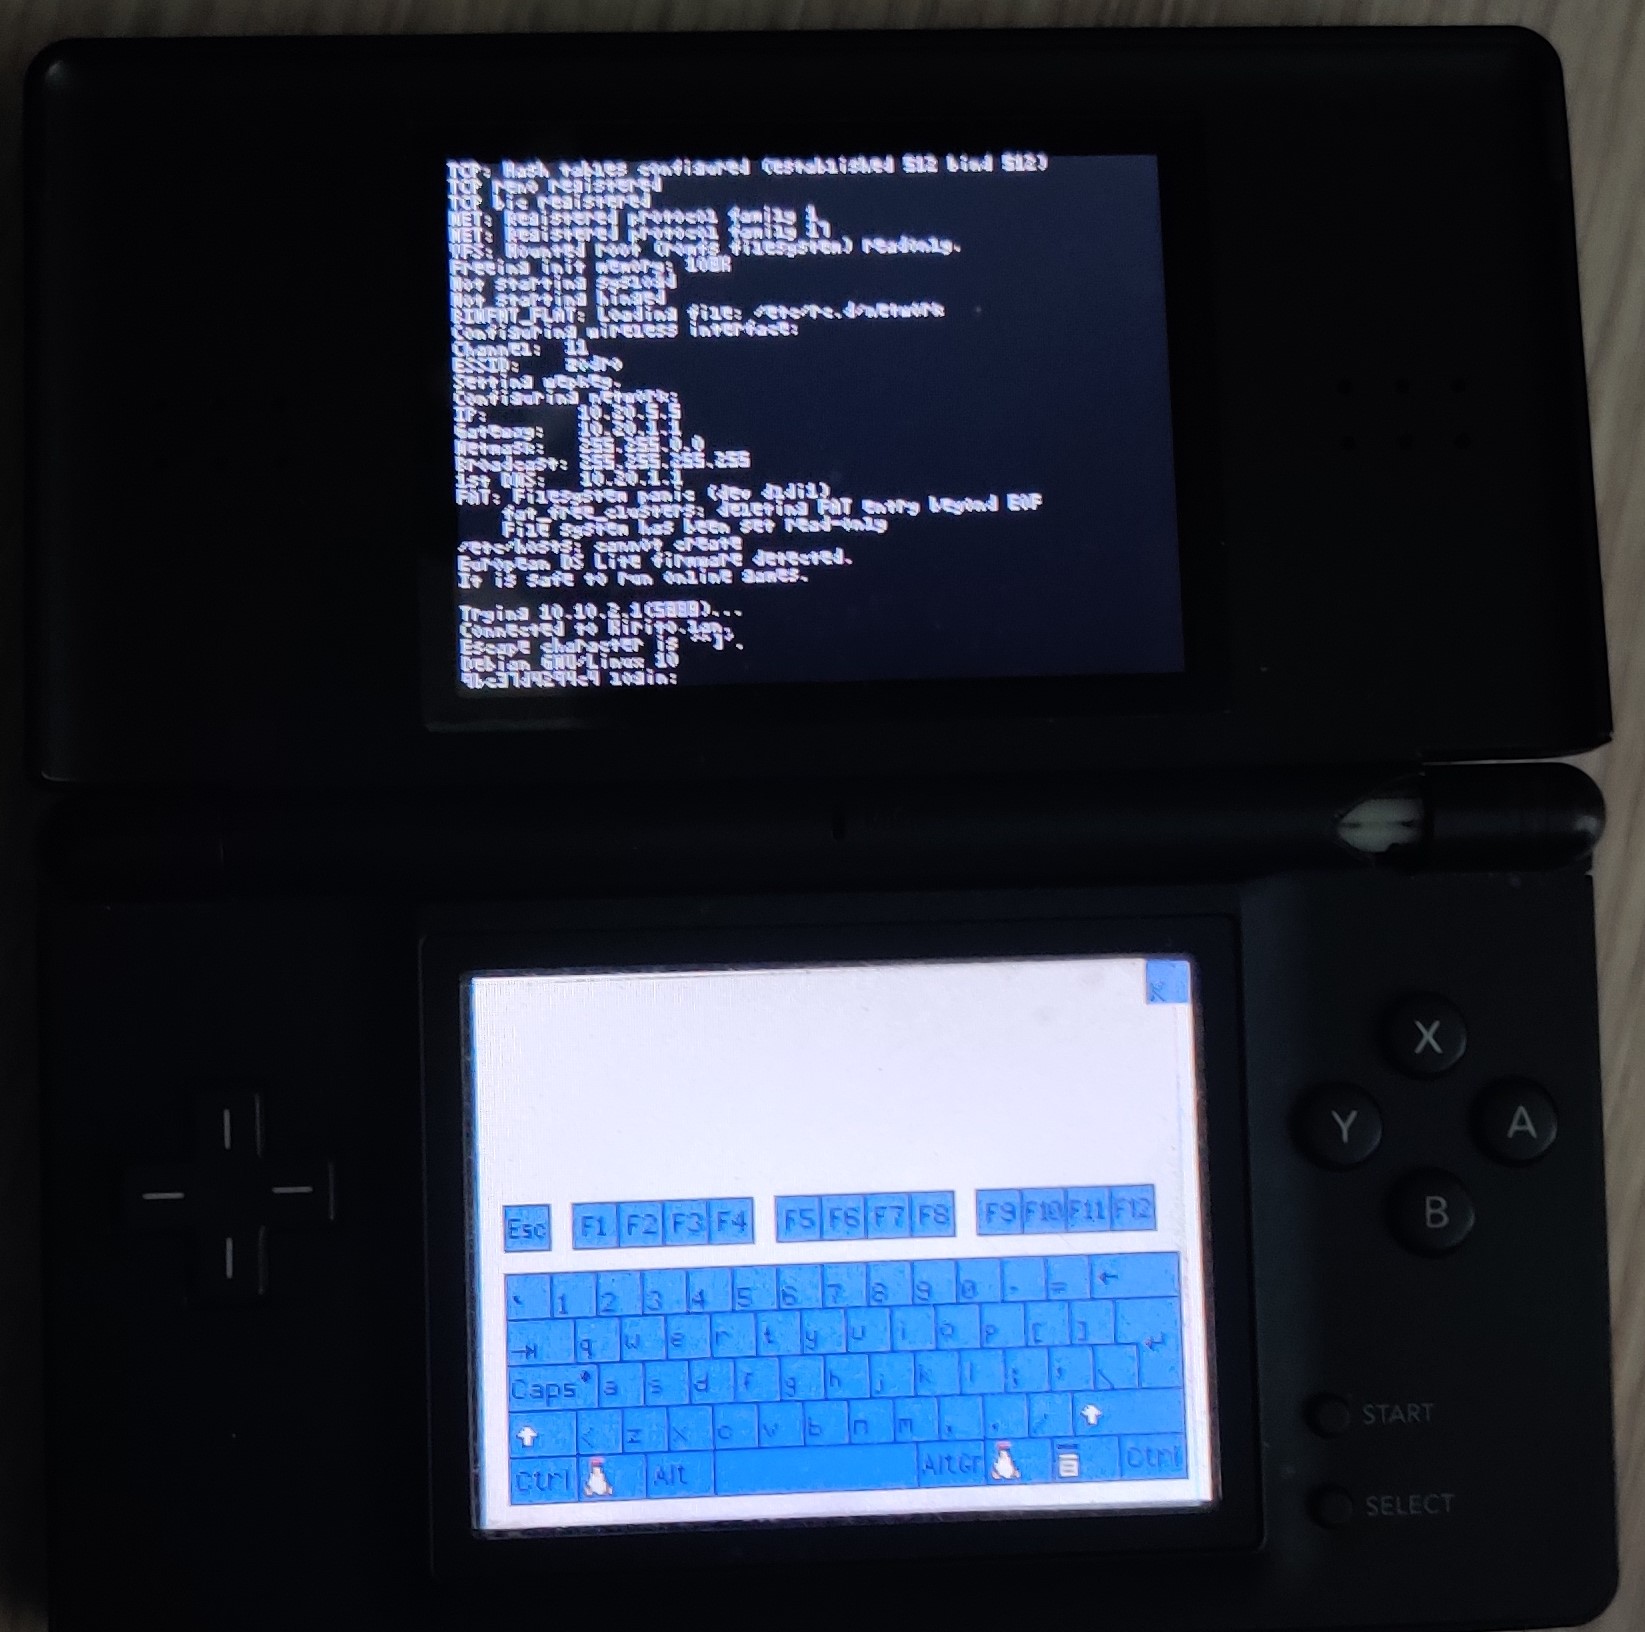
According to the project’s website, DS Linux is compatible with the original DS and the DS Lite (this is the one that I own), and maybe the newer models in compatibility mode. To install it on my DS Lite, I downloaded the dslinux-dldi version, as I own a memory expansion pack (which allows to store and edit configuration), and extracted the content at the root of the sd card.
In the linux/etc directory, copy the rc.defaults as rc.conf and edit the configuration, especially the following variables:
enable_network_on_boot="YES"
essid="YOURSSID"
wepkey="s:YOURKEY"
ip="10.20.5.5"
netmask="255.255.0.0"
gateway="10.20.1.1"
dns1="10.20.1.1"
You can now start your DS and shoud be able to connect to your network (note that the DS only supports wep encryption). If you have a telnet server somewhere on your network you can try to connect to it with telnet SERVERIP.
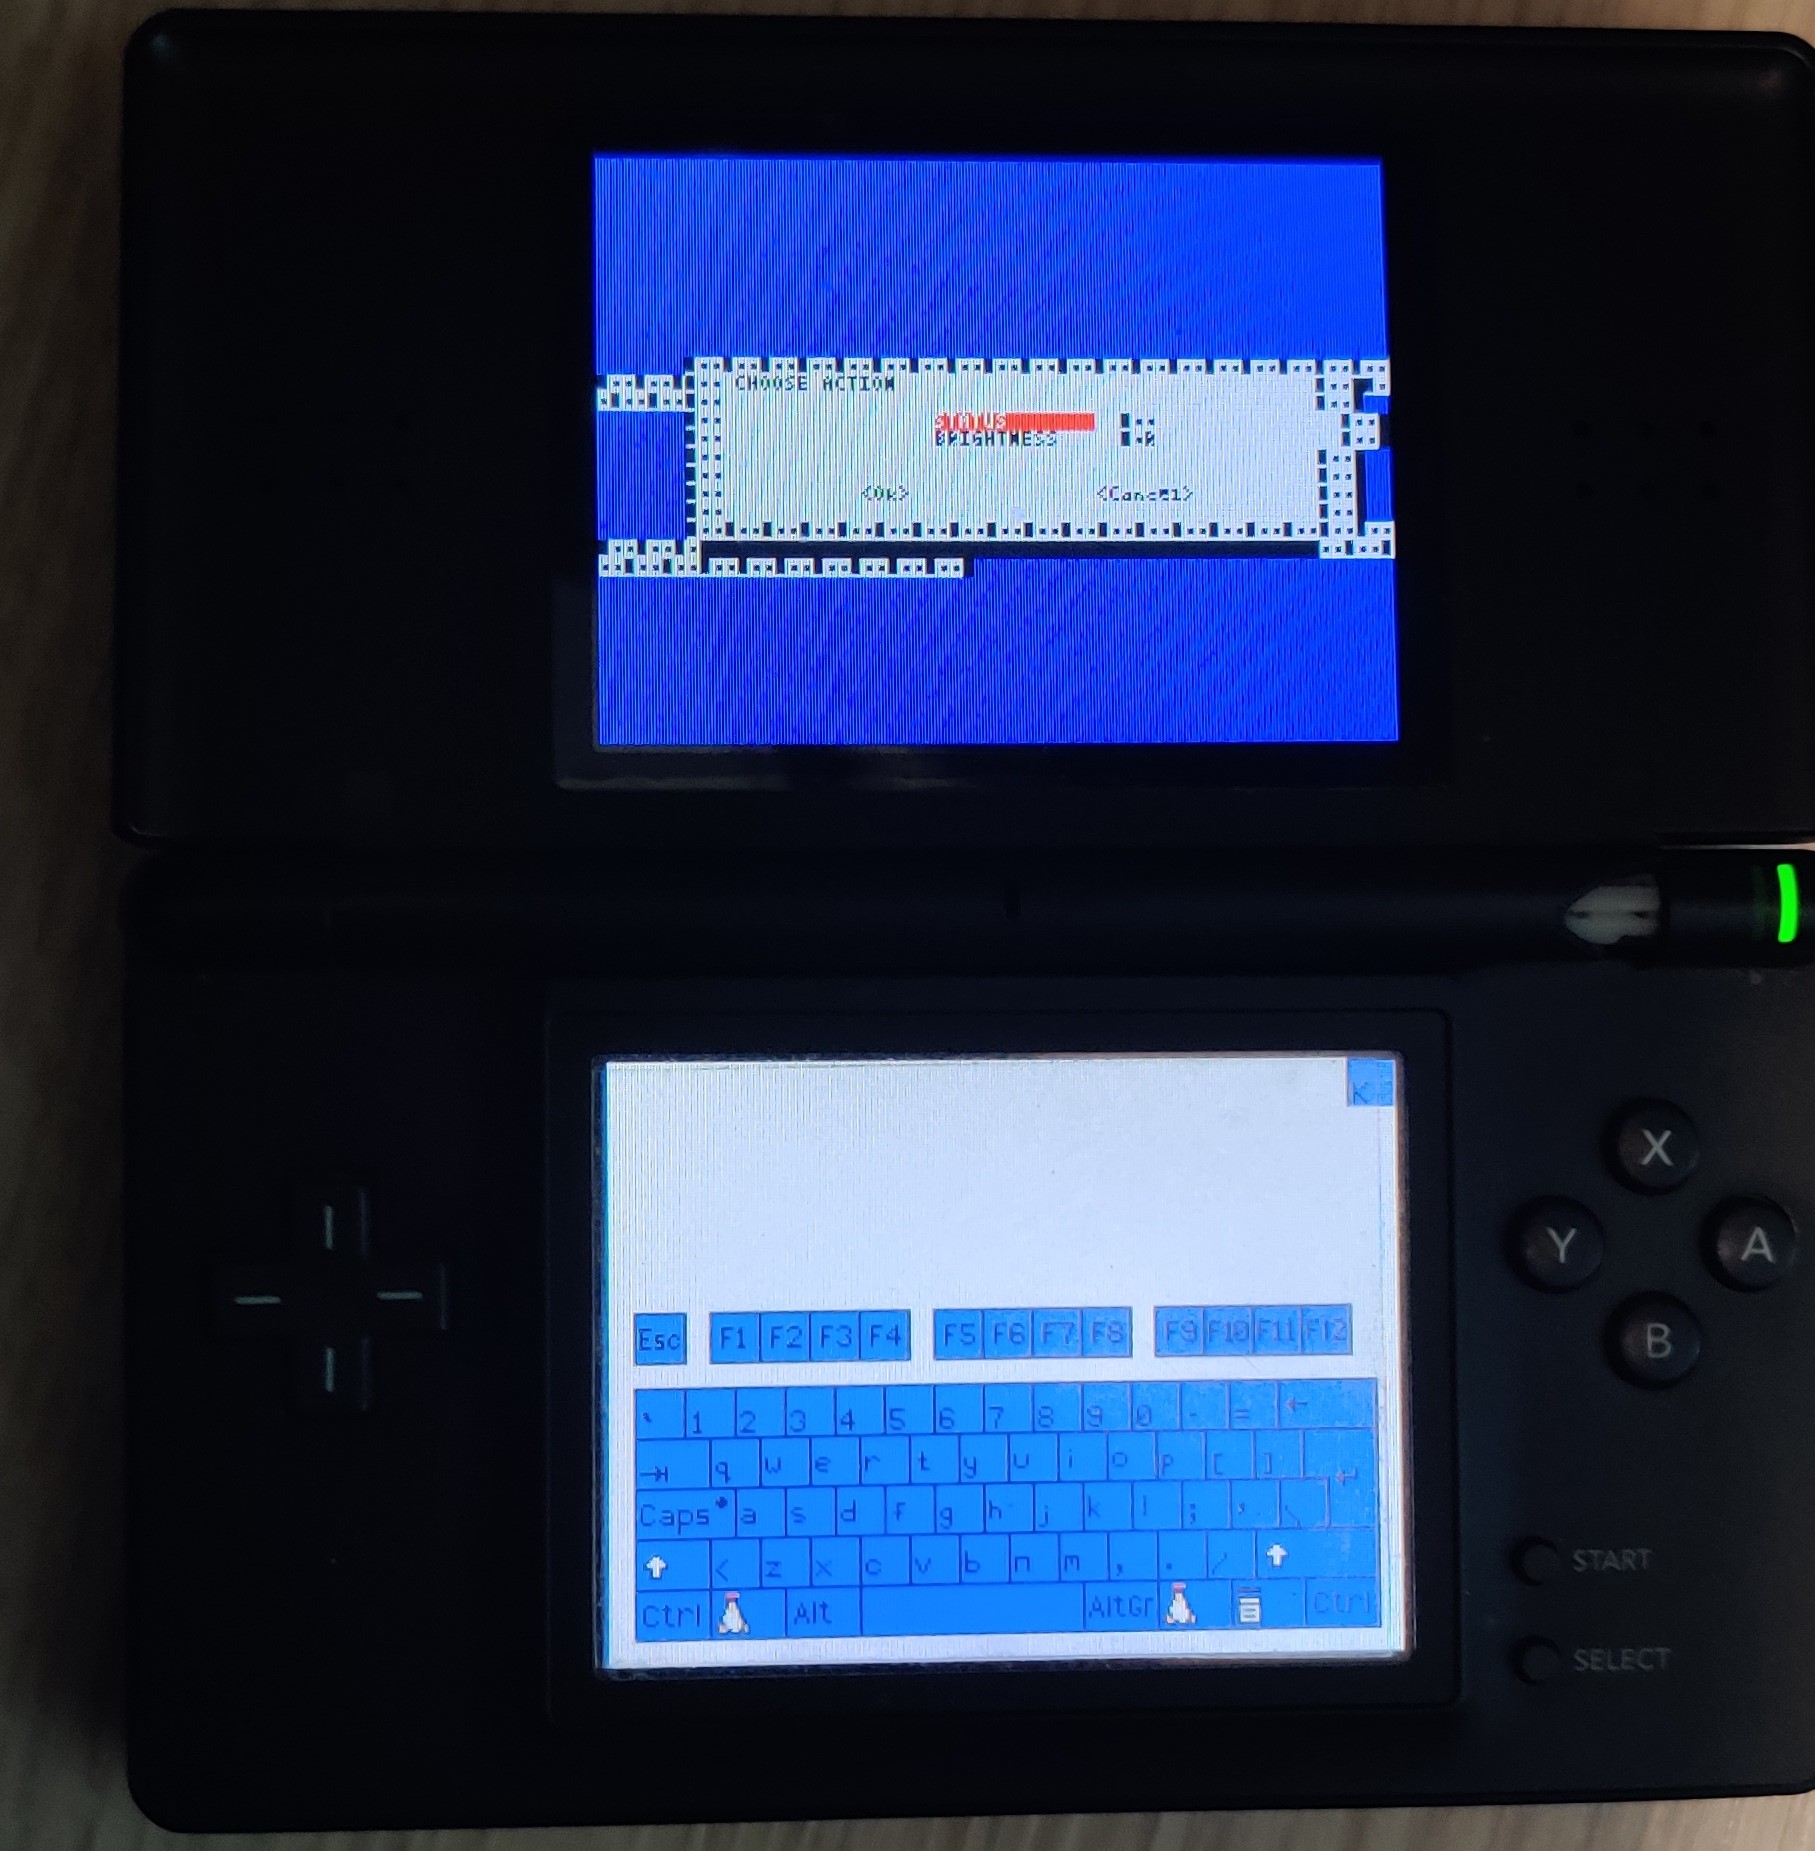
The Software
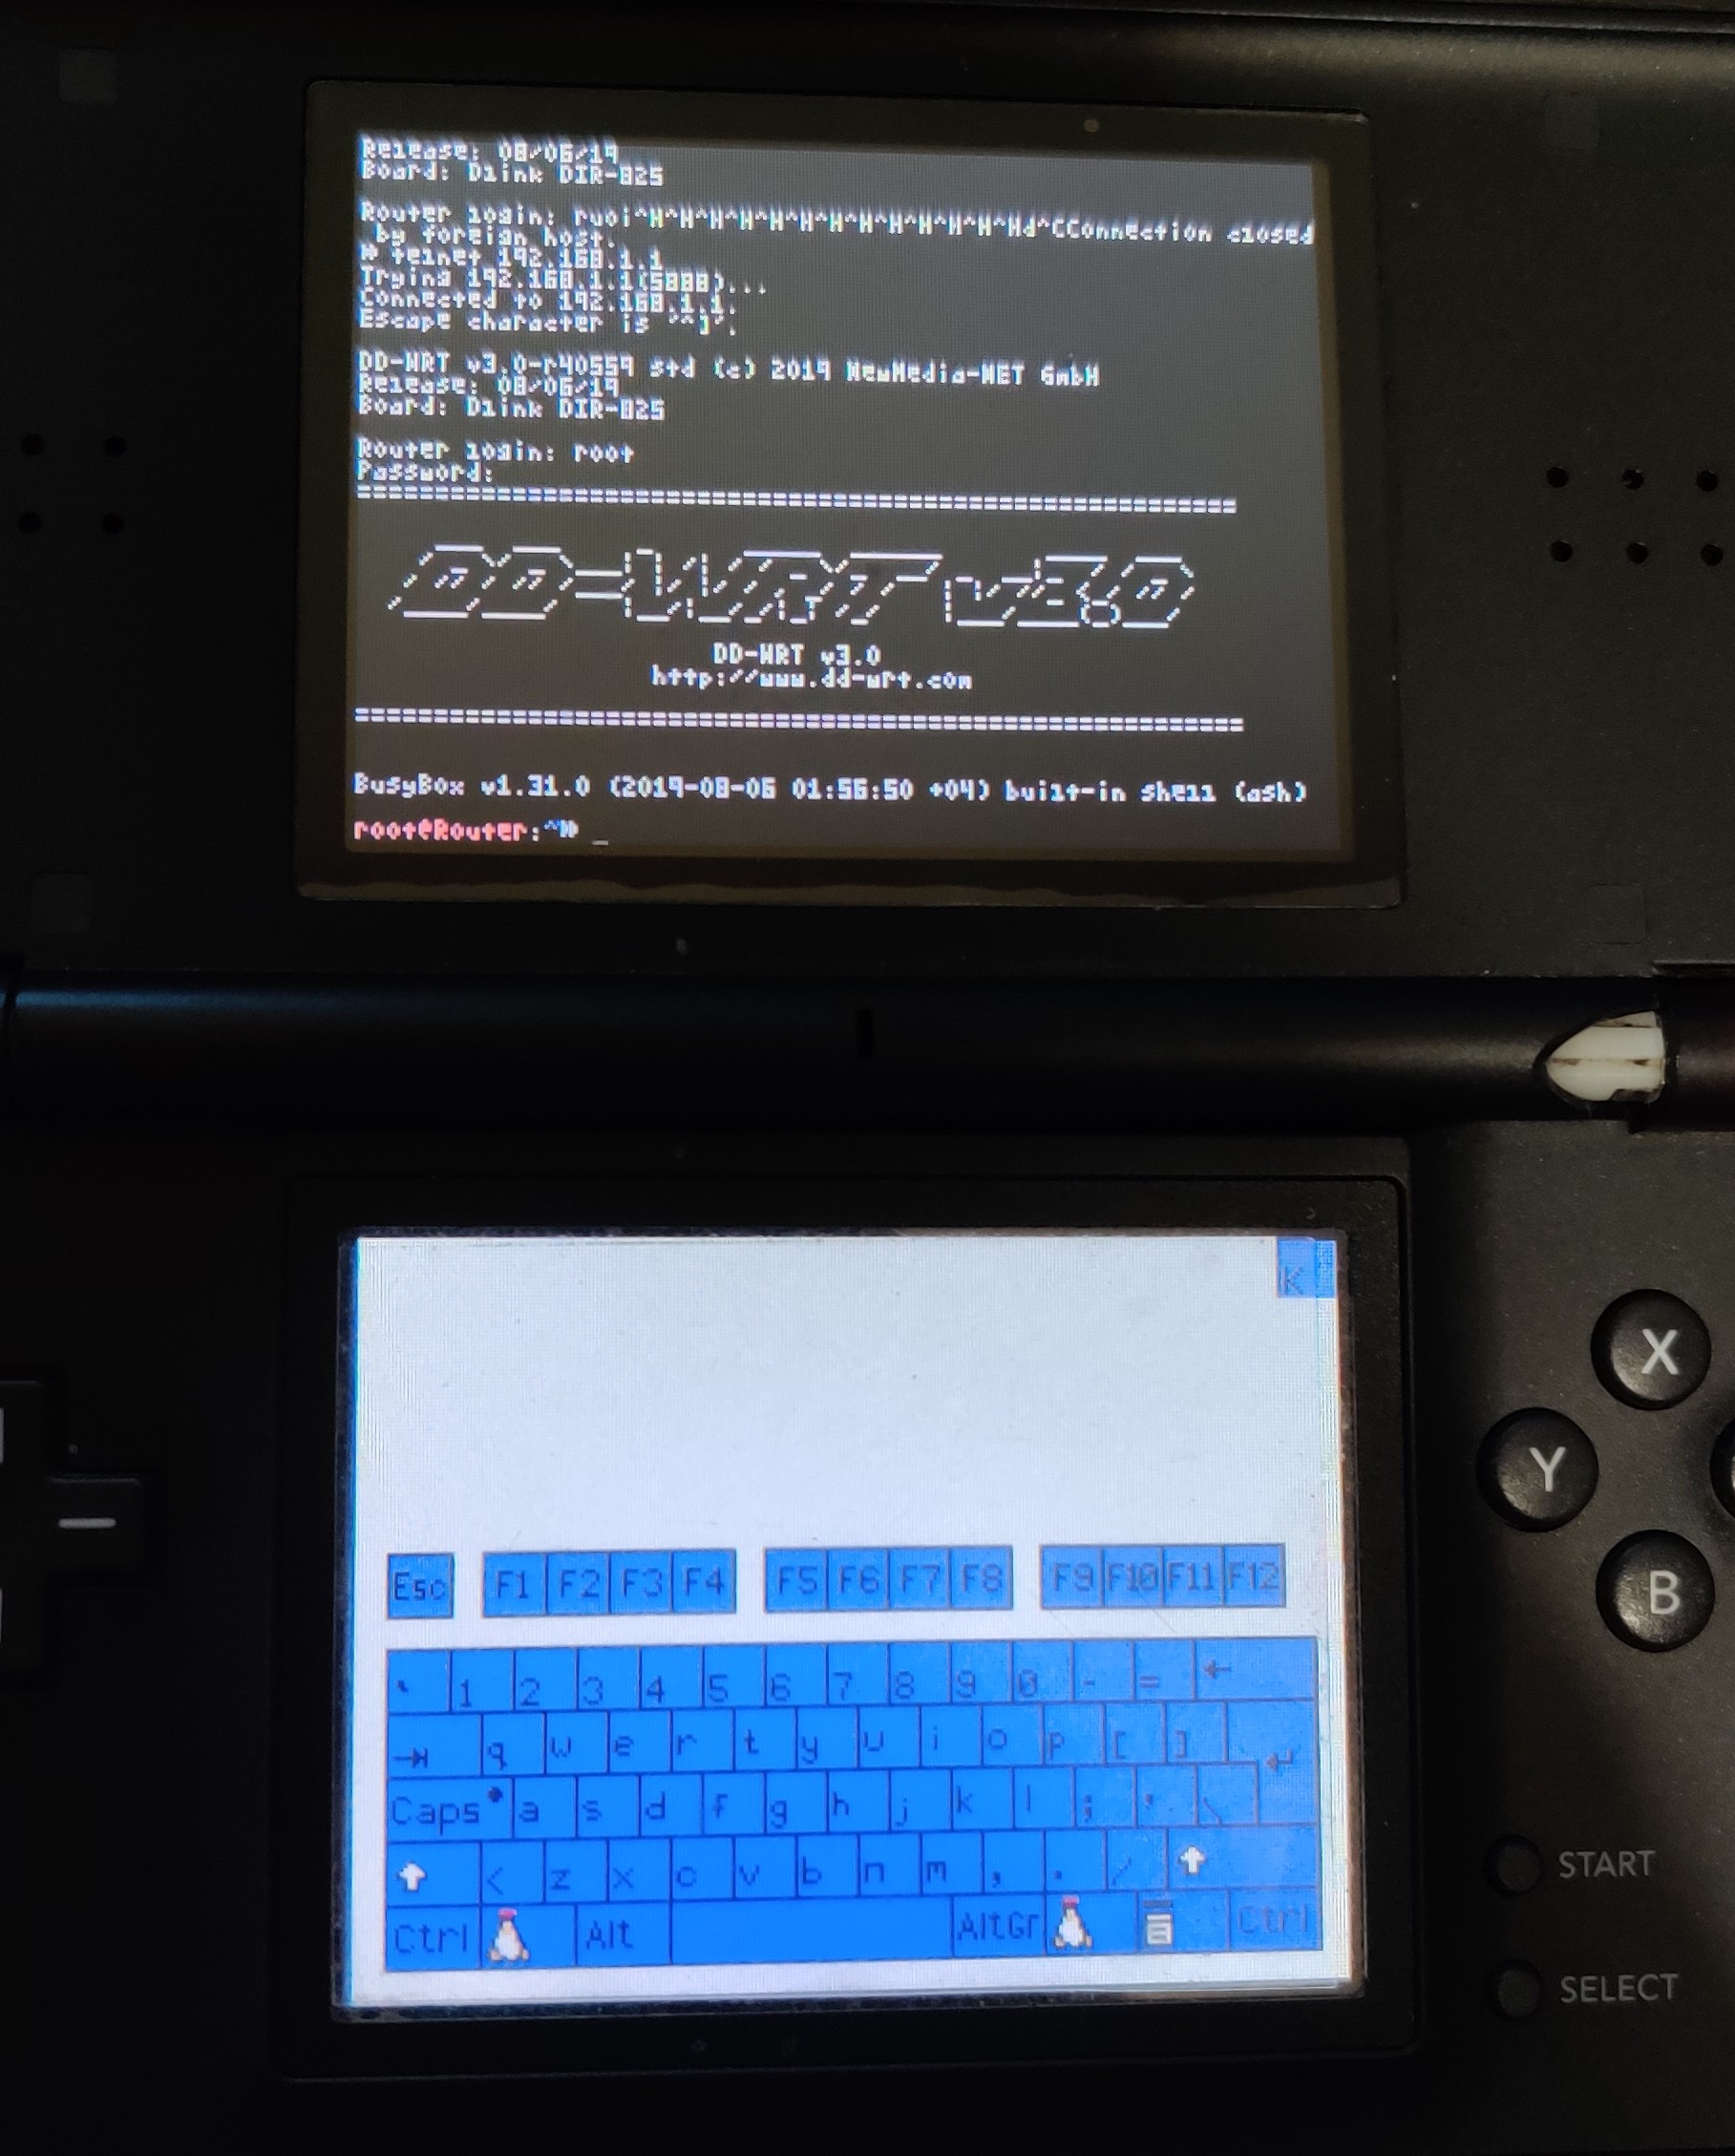
So, DS Linux comes with a telnet and an ssh client but as the project hasn’t been updated for several years, all the ssh ciphers are deprecated, the telnet was then the easier way to connect to a server. On the server side, I made a simple docker container with a telnet server and the default shell set to a custom python script. For this script, I used python and whiptail to create a TUI to control home-assistant via its api.
You can find this part on my github repo. Just edit the ip, token and devices in the python script, build and run the container.
For a faster connection when booting the DS, you can edit the linux/etc/autologin.conf file, set EXEC=/home/ds.sh and create the script linux/home/ds.sh with:
#!/bin/sh
telnet YOURSERVERIP
Now, you just need to start your DS, wait for telnet connection and enter your credentials (by default: ds/ds), you can then navigate in the menus using the DS directional cross and A/B buttons.